it's been a while, i have no excuse, but i'm here now...so get off my back. (pretending someone reads this keeps me interested, ok?!)
ive got a little back log of content to put forward, most of which i will save for a future update. i'm starting to feel overwhelmed with the content actually so i'm just going to treat it like painting a squad of troopers: bit by bit. i have a bunch of pictures, a couple battle reports, and the results of my scenario test. i'll save the battle reports for another day, as i find them a bit tedious. in fact i'll do the scenario later too. feel free to request which one comes first, otherwise i'll just get around to it.
i'm going to just share the project im working on, and how i've been doing it. i know it's not rocket surgery, and this technique is nothing new (and it may even be wrong) but i'm stumbling around in it now. enjoy.
In the beginning:
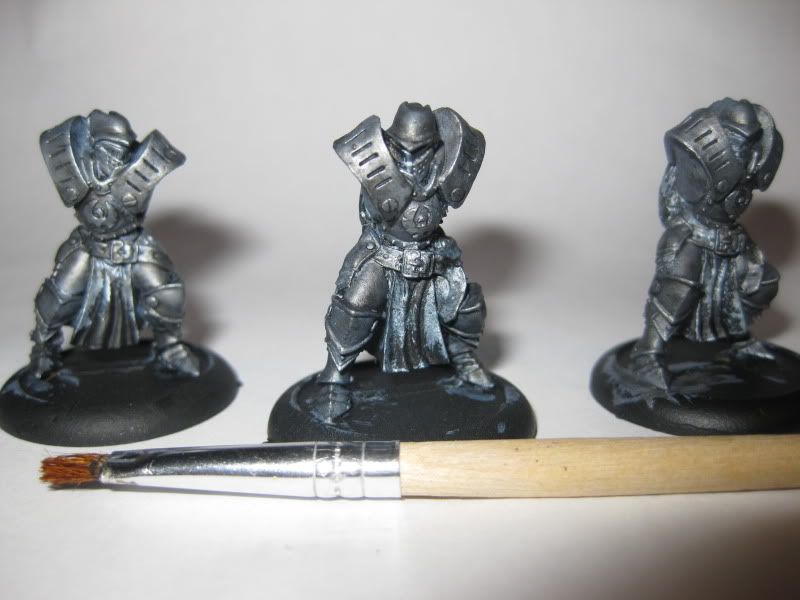
this is my first large squad of troops. they are knights and they have a pretty traditional feel to them
, so i wanted to give them mainly metallic armour. i primed them black. heres the new part. i did a mass base coating with my favorite metallic paint (reaper shadowed steel) using a DOLLAR STORE BRUSH! i purchased this package of crappy brushes for painting terrain, but due to the volume of silver paint i was going to apply to each knight i decided to make use of the wide (crappy) brush. so basically i just slapped it on:
Pictured here. this i was able to do over the course of a week to the whole squad just by sitting down for ten or fifteen minutes when i had a chance.
Next:
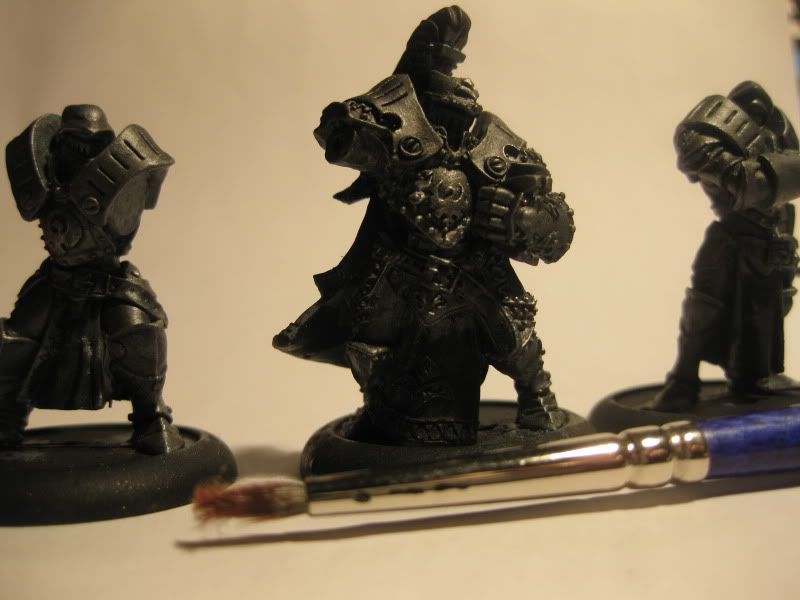
i used the same brush to slap an ink wash on. this is new to me as well. normally washing happens much closer to completion of the model. i really wanted to darken them up so that i could dry brush GW 'mithril silver' over them and actually be able to notice it. This stage is pictured
here. normally my drybrushing occurs much later as well, but as i said... im trying something new. "learning" if you will. (although ill hold out for the finished product before final judgement). you may notice these men have no arms. i find it REALLY annoying to try to paint around appendages, and will thusly paint them seperately for later attachment. this washing/drybrushing stage really didnt take very long either actually. it probably took me a couple hours to do all the troops and all their left arms. I would have done the right arms as well but i had just enough primer to do the left arms. so i moved on to:
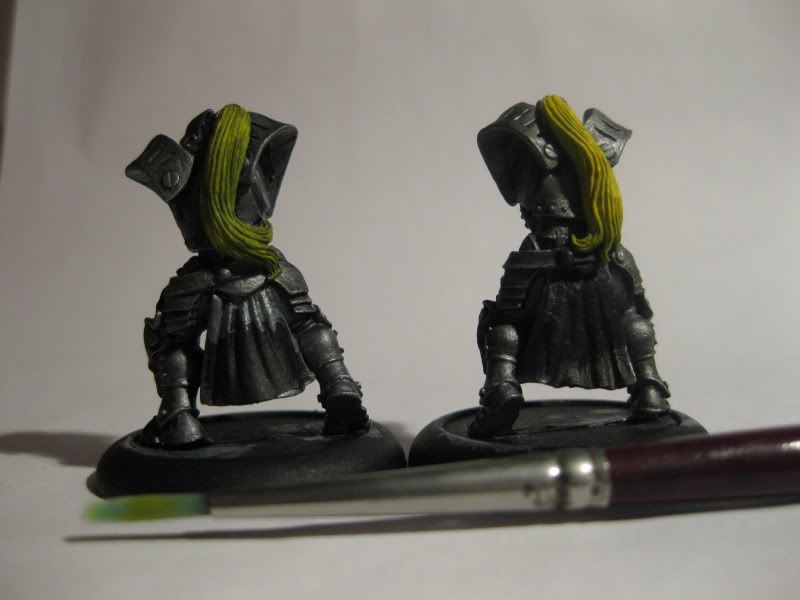
The next step.
i dont know what
these are called. bright yellow doesnt really cover well on black so it is going to take two coats. the guy on the left has only one coat. you may also notice im keeping a trend of showing which brush im using on each step. i only got halfway through this step today, but i intend to finish it tomorrow.
im hoping to do more posts like these in future. i'll snap a pic at the end of a step and make an update. some may be longer or shorter depending on how often they are posted, but im always hoping to increase frequency of posts. i'm also feeling incredibly scatterbrained at the moment and i suspect that is showing through in this update.
happy gaming!


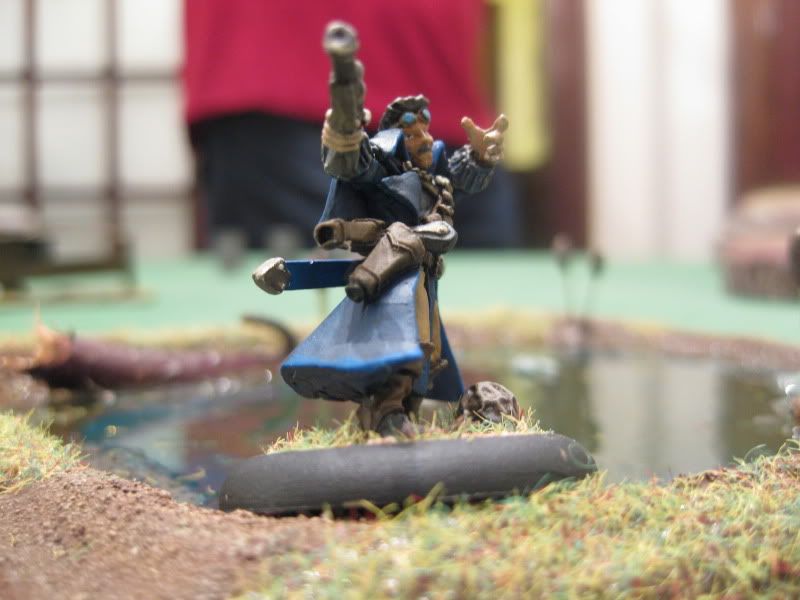
 i played a couple games today at a friends place. two 15 point matchups against khador, the second of which was conceded pretty quickly when Siege and Co. set up shop and started blasting everything away. here is a picture of the end of the first game when the defender landed his hammer into sorcha to do that final point of damage. it ended up being a little too close for comfort, but it worked out.
 i also managed to get a little bit of work done on my 'jack workshop. mostly just some shaping and patterning. i hollowed out the top of it too. i think its going to look pretty cool. i may put a little bit of paint on the chimney next or start working on the rest of the building. time will tell.


